Submitted by James Klim DDS, CADStar host on 01/10/2021 - 11:05am
Submitted by James Klim DDS, CADStar host on 12/13/2020 - 4:40pm
This video highlights my incisal edge workflow using MiYO. There are several advantages to MiYO over other coloring stain and glaze systems. First of all, the lower values, high values, and color applications can be accomplished with one application and firing. Second, what is observed in the application wet stage will be seen in the post-firing condition. Though MiYO has many characterizing and color applications, this video will deal with the color incisal edge strategy setup and color application sequencing. Link to the following video for MiYO mixing and
Submitted by James Klim DDS, CADStar host on 12/06/2020 - 2:48pm
There are a plethora of ceramic finishing videos on this website. This video will document my workflow for shaping and texturing an eight-unit anterior case. In this case, Amber Mill, by HASS Bio, is being used. I have discovered that each ceramic such as VITA felspathic, Empress, e.max, Suprinity, or Amber Mill have their own characteristics on how the surface and texturing applications turn out. However, the workflow and principles of shaping and texturing are the same.
Submitted by James Klim DDS, CADStar host on 10/16/2020 - 12:19pm
This video highlights my anterior prepping workflow for full crowns and scanning with the Primescan. This approach works well for Omnicam as well. The bur kit being used is by Meisinger (JK02). The white stone used for finishing is from Meisinger as well, but not on the prep kit. Please post questions or comments.
Submitted by James Klim DDS, CADStar host on 05/04/2020 - 9:54am
What is the importance of superficial gloss finishing? In my quest to become a better ceramic artist, discovering the art of texture and luster has been an essential part of creating an aesthetic ceramic personality. Tooth surface texture and enamel luster is an individualized characteristic for each ceramic application we do and is unique to each mouth. This video will walk through my superficial gloss finishing for an anterior ceramic.
Submitted by James Klim DDS, CADStar host on 04/22/2020 - 4:33pm
Submitted by James Klim DDS, CADStar host on 04/19/2020 - 8:11am
Applying the art and craft of ceramic shaping and micro-texturing takes our aesthetics skills to the next level. This video tutorial will walk through my shaping workflow for a single central. As the saying goes, once you have mastered the single central workflow and aesthetic blend, you will have reached the pinnacle for anterior aesthetics clinical applications.
Submitted by James Klim DDS, CADStar host on 03/18/2020 - 12:11pm
This video will demonstrate the aesthetic transformation of a posterior ZirCAD Multi bridge using the MiYO system by Jensen. The MIYO liquid ceramic system has transformed my ceramic and zirconia aesthetic clinical theater. It is a low fusing ceramic system and can be applied to all our CAD/CAM ceramic and zirconia systems. There are many assets to the MiYO system, but several of my favorites is that it is very easy to apply, multiple color combinations can be applied with one application, what is seen in the pre-fired state is what will be observed in the post-fired state, and the color characteristics appear to be embedded in the
Submitted by James Klim DDS, CADStar host on 03/18/2020 - 11:23am
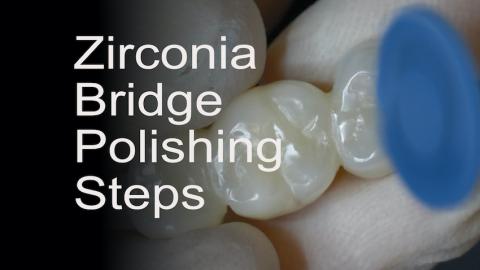
This is the third video in the posterior ZirCAD Multi bridge series. For the majority of my posterior bridges, I will polish only, unless the aesthetic blend requires more attention. This bridge will be placed in the upper left buccal corridor and is part of the secondary smile zone. MiYO by Jensen will be the stain and glaze product for the final characterizing phase. One thing that is nice about MiYO is that it can be applied to a highly polished surface. With this surface application characteristic, the zirconia bridge can be fully polished in preparation for the MiYO stain, glaze, and structure application.
Products used:
Submitted by James Klim DDS, CADStar host on 03/01/2020 - 10:43am
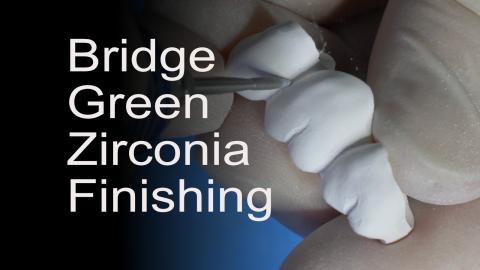
Part 2 for creating a posterior ZirCAD multi Bridge. Once the bridged is machined, what are the steps to effectively shape and finish the bridge before sintering? I follow a routine shaping workflow using the Meisinger JK04 Zirconia Lab Kit. Quite often, when using the multi zirconia options such as Katana or ZirCAD Multi, I will use selective infiltration to control value and enhance the multi-effect when the case demands a better blend.
- Meisinger JK04 Zirconia Lab Kit
- ZirCAD LT Coloring Liquids (Ivoclar)

