The ceramic milled and finished restorations just dropped in! I have noticed better contact precision when designing multiple side-by-side restorations with Primescan. We did have one hiccup with this case. The centrals needed a brighter shade. This video will share how the two e.max cental restorations where cemented temporarily and rescanned, used for BioCopy design, and then milled for a brighter shade. Shade issues happen occasionally when working with thin ceramics, this is my workaround method for cases like this!
- Online Training
- New Content
Submitted by James Klim DDS, CADStar host on 04/03/2020 - 4:58pm
Categories:
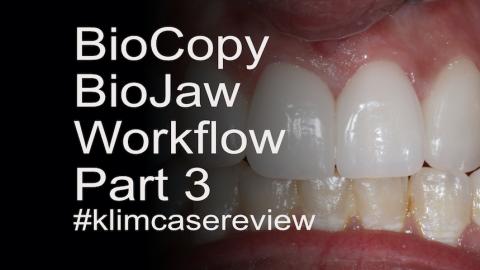
Submitted by James Klim DDS, CADStar host on 04/03/2020 - 4:54pm
Categories:
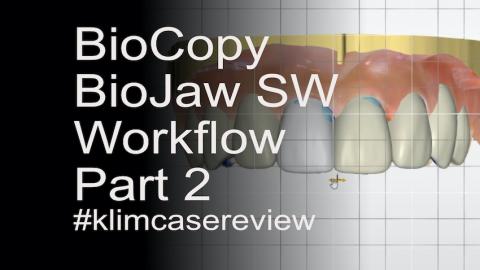
Anterior BioJaw is a software feature where the user can choose from templates and design a virtual smile setup. The BioCopy catalog is used as a virtual position guide for tooth size, position, and tip. The value of BioJaw is the resulting cleaner virtual design than with BioCopy design. This video will journey through the software design workflow for multiple anterior virtual designs using BioJaw.
Submitted by James Klim DDS, CADStar host on 04/03/2020 - 4:51pm
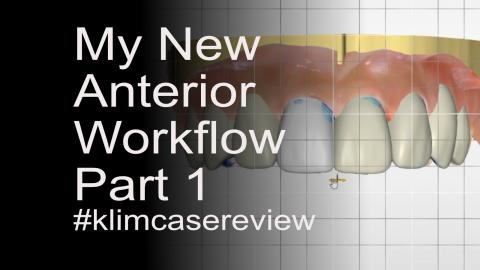
For the last 10 years, my favored software flow for anterior multiple tooth design has been BioCopy. This anterior case review will introduce my current Biocopy/Biojaw modified anterior workflow for multiple teeth. This is the first video in a series of three videos.
Submitted by James Klim DDS, CADStar host on 03/22/2020 - 11:51am
Categories:
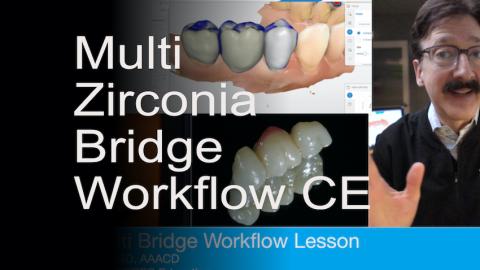
The ZirCAD Multi zirconia aesthetic bridge series has been posted on the CE section of this website for 1.5 units of CE.
The Klim Institute is a PACE certified educational service. In most states, the viewer can gain up to 50% of license renewal with online certified education (check your regional or state board to verify). This site will continue the process of providing new online CE lessons to expand our current CE portfolio.
Submitted by James Klim DDS, CADStar host on 03/18/2020 - 12:11pm
Categories:
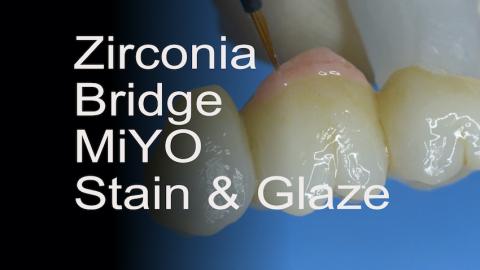
This video will demonstrate the aesthetic transformation of a posterior ZirCAD Multi bridge using the MiYO system by Jensen. The MIYO liquid ceramic system has transformed my ceramic and zirconia aesthetic clinical theater. It is a low fusing ceramic system and can be applied to all our CAD/CAM ceramic and zirconia systems. There are many assets to the MiYO system, but several of my favorites is that it is very easy to apply, multiple color combinations can be applied with one application, what is seen in the pre-fired state is what will be observed in the post-fired state, and the color characteristics appear to be embedded in the
Submitted by James Klim DDS, CADStar host on 03/18/2020 - 11:23am
Categories:
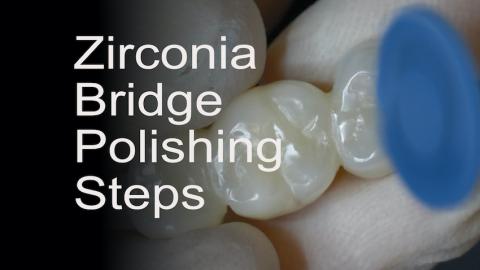
This is the third video in the posterior ZirCAD Multi bridge series. For the majority of my posterior bridges, I will polish only, unless the aesthetic blend requires more attention. This bridge will be placed in the upper left buccal corridor and is part of the secondary smile zone. MiYO by Jensen will be the stain and glaze product for the final characterizing phase. One thing that is nice about MiYO is that it can be applied to a highly polished surface. With this surface application characteristic, the zirconia bridge can be fully polished in preparation for the MiYO stain, glaze, and structure application.
Products used:
Submitted by James Klim DDS, CADStar host on 03/12/2020 - 10:52pm
Categories:
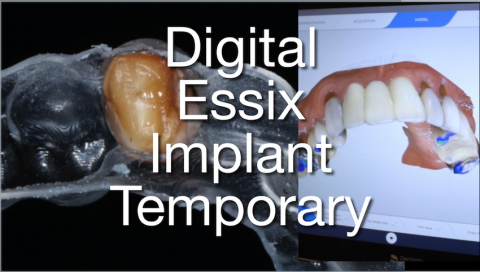
Primescan has made the full arch and full mouth scan a routine simple process in my clinical theater. This video will walk through the steps for processing an implant tooth Essix retainer. I currently have the Sprintray Pro and Asiga printers. They are both excellent printers and serve an important part in my daily practice. I will also share the products and method for tacking in the temporary tooth to the Essix retainer.
- Asiga or Sprintray Pro printer
- Ministar Forming Vacuum
- SR Connect (Ivoclar)
- Adhese Universal (Ivoclar)
- Flowable BulkFill (Ivoclar)
Submitted by James Klim DDS, CADStar host on 03/01/2020 - 10:43am
Categories:
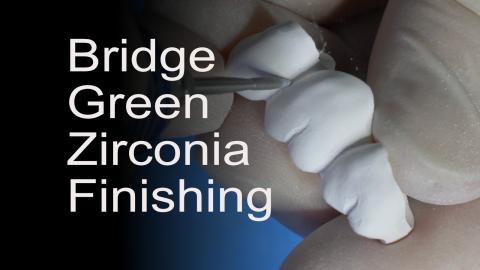
Part 2 for creating a posterior ZirCAD multi Bridge. Once the bridged is machined, what are the steps to effectively shape and finish the bridge before sintering? I follow a routine shaping workflow using the Meisinger JK04 Zirconia Lab Kit. Quite often, when using the multi zirconia options such as Katana or ZirCAD Multi, I will use selective infiltration to control value and enhance the multi-effect when the case demands a better blend.
- Meisinger JK04 Zirconia Lab Kit
- ZirCAD LT Coloring Liquids (Ivoclar)
Submitted by James Klim DDS, CADStar host on 02/28/2020 - 1:18pm
Categories:
Submitted by James Klim DDS, CADStar host on 02/27/2020 - 10:33pm
Categories:
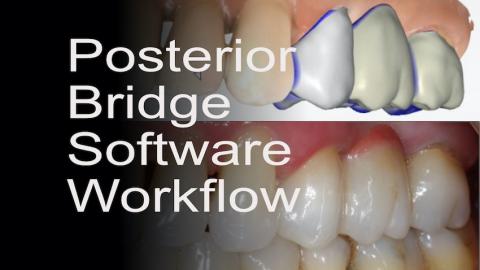
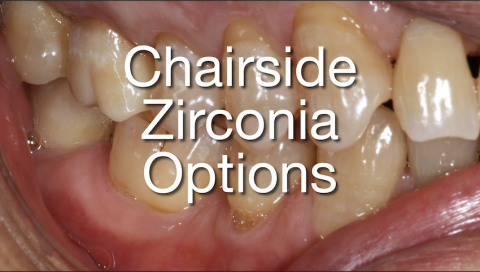
This video will show my workflow for designing a posterior bridge in the CEREC software. There are a number of zirconia materials and brands to choose from when fabricating a bridge in today's CAD/CAM world. I used ZirCAD Multi for this case. The videos to follow will document each step of the workflow from green zirconia shaping and luster finishing, infiltration, and final MiYO brush-on ceramic application on the buccal corridor surfaces.